PREVIOUS PART: Running the Game
(Images provided by QuakeWiki)
Q3A's gameplay is simple on the surface. You see something, you shoot it. There's more to it than that, of course, but most of the game boils down to this simple pointing and clicking.
Before we get started, it's worth going into options and adjusting some things like screen resolution and controls. If you're using a game controller, I recommend using a program called AntiMicro to map the inputs of the controller to keyboard and mouse inputs. Quake 3 does have gamepad support, but making use of it requires console commands, and Spearmint has its own system for gamepad input... AntiMicro is just less painful all around. (For those interested, though, I do intend on writing guides on using gamepads later.)
Useful information is on the bottom of the screen. The left-most number is the ammo for your current weapon, the middle number next to the face is health, and the right number is armor. Also on the right is the frag counter (right of the armor number) and the powerup timer (above the armor number).
While you're adjusting the game to your liking, it's worth noting that Quake 3 lets you adjust your field of vision, or FOV. The default FOV in Q3A is 90 degrees, but the game was also released in an era without prevalent widescreen displays. If the screen is feeling a little cramped even after you set the resolution, open up the console by pressing tilde (`) and enter the command 'cg_fov x', where x is the desired field of view. I personally prefer a FOV of 110 degrees - 'cg_fov 110'.
Once you're starting to feel at home, let's go over the basics.
HEALTH
A simple measure of your vitality, as long as you keep it above 0 you can keep running, jumping, and shooting as well as you could at 100. It's fairly cheap, too. You can lose it by falling, jumping into slime, staying underwater too long, and of course by getting shot. Ideally you want to keep this at 100 or above. But Jaga! you exclaim. How am I supposed to play the game well if I'm always glancing down to check how much health I have left? Here's a tip - whenever you hear your character's pain grunts, make a mental note to find some health packs. You'll stay stocked up on health without needing to check every three seconds.
You start out with 125 health. As long as your health stays above 100, it'll tick back down to the default value of 100 at a rate of 1 HP per second. To replenish it, grab one of the four health pickups scattered around the map.
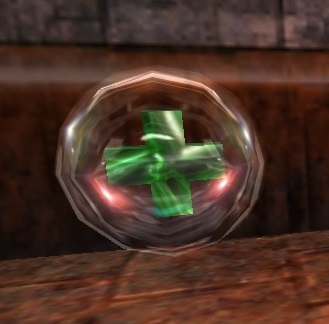

ARMOR
One way to think of armor is as a second healthbar. You start with none, but can find pickups around the map. When taking a hit with armor on, some fraction of the damage (2/3) will be subtracted from the armor and the rest will be subtracted from your health. It's a quick way to boost your durability, if a little more confusing to keep track of two numbers. Another useful fact is that having full health and any amount of armor will grant you immunity to any one single shot, provided your attacker doesn't have Quad Damage. I think of it as railgun insurance.

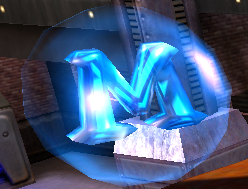
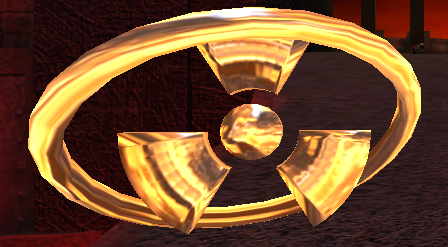
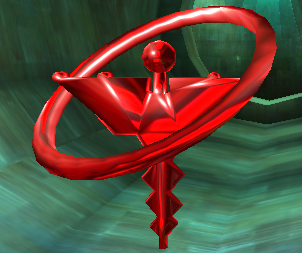
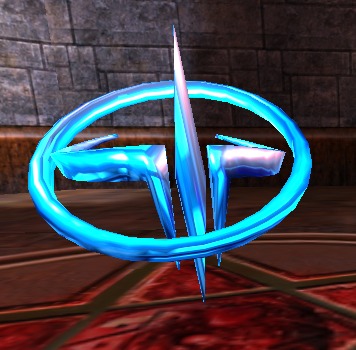
POWERUPS
These give you a handy little boost, provided you can get to them in time. They're usually hotly contested on a map, so know where they show up and get there first.
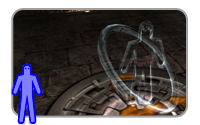
If you're dealing with someone with a Battle Suit, the best response is to run - there's no good way to kill them until it runs out. Failing that, try getting them squished or dropped into a bottomless pit or such.

If you're fighting someone with Flight, hitscan weapons like the Railgun, Shotgun, Machinegun, and Lightning Gun are your best options to pick them out of the sky with. Alternatively, if you can lure them into close quarters, the Plasma Gun could work and they'll be more vulnerable to explosive splash damage.
.jpg)
If you're up against a Haste user, try luring them into making tricky jumps over bottomless pits or lava. The increased speed from the powerup could make them lose their footing. If they have explosive weapons like the Rocket Launcher or the BFG10K in particular, you could get them to whittle their own health down by shooting rapid-fire explosions into themselves. Finally, since they're moving so fast, the Shotgun might be useful to catch them in its spread.
There are few good ways to stop an Invisibility user, but a quick spray with the Lightning Gun may serve to reveal them. On that note, don't use bright, flashy weapons like the Plasma Gun and Lightning Gun with Invisibility on. The stream of bright blue balls/beam of death kindof defeats the purpose of the powerup.
Regeneration is a powerup where players will gang up on its holder before they start fighting each other. If you want to kill a Regeneration user, lure them into an angry crowd, preferably with hefty guns like the Rocket Launcher and Railgun. Those kinds of weapons can knock off health faster than the powerup can replace it. Also, be on the lookout for extra health and armor around the map and get it before the powered-up player can to keep them from becoming even more of a tank.
The Quad is another powerup where players will gang up on the wielder. Keep moving - players will either try to target you or run from you, and standing still helps with neither. Also, take care when using weapons with splash damage like the Rocket Launcher and the Plasma Gun, it's a quick route to an embarrassing end. Though if you really want to shut down a Quad wielder, get in their face when they're using explosives. With any luck they'll blow themselves (and you) to smithereens.
Next part I'll go in depth on each of the guns and how to use them best.
NEXT PART: The Guns
No comments:
Post a Comment